Growing Tomatoes in Grow Bags
February 8th, 2021 | Categories
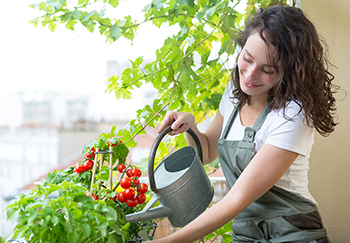
Growing tomatoes from grow bags at home is a great way to start off growing your own tomatoes. Growing tomatoes in bags is convenient, neat, and effective, but is a little different from growing in pots or in the ground. However, the whole process from seed to harvest is still remarkably simple and straightforward, even for beginners. It will reward you with a plentiful crop all of your own making to enjoy during the summer months, from a single grow bag.
The great thing about growing in grow bags is that the compost is already mixed conveniently, and you also grow right from the bag. Each bag in turn can typically allow for three plants, which will produce hundreds of tomatoes over a single growing season with the right care. Grow bags are perfect for beginners who wish to dip their toe in the water of growing their own and anyone whose available space is at a premium.
The main thing to be aware of if growing tomatoes in grow bags is that the available volume of compost is fixed, which means that it cannot hold enough nutrients for a season or water for an extended period. This is OK though; it simply means feeding them regularly with a good fertiliser/liquid feed and monitoring that little bit more than you perhaps would if planting in the ground or in pots to ensure your plants are getting enough water. However, tomatoes are thirsty and hungry plants, so the routine isn’t much different wherever they are planted. Ready to get started? Read through our step-by-step guide to growing tomatoes in a growing bag, below.
Why You Should Grow Tomatoes at Home
Did you know the tomatoes you buy in supermarkets are grown in soilless environments with artificial fertilisers injected into them? This is to guarantee yields, shelf-life, and disease resistance year-round – tomatoes need good sun to grow which is at a premium in many regions of the UK – and while perfectly safe, it comes at the expense of other qualities like flavour. They are also typically harvested before they are fully ripened. If you compare that to how they would grow naturally, the kind you’ll grow yourself, the flavour is night and day – the true taste of a tomato – and you can harvest when they are ripe and ready to go.
Additionally, homegrown tomatoes are healthier with higher levels of the pigment ‘Lycopene’. Lycopene has been shown to help unclog blocked arteries and is thought to be a reason the Mediterranean diet is so healthy. There’s more, a single plant can produce hundreds of tomatoes in a season, so it can pay for itself many times over. You can save the seeds from your tomatoes and grow them again next year too.
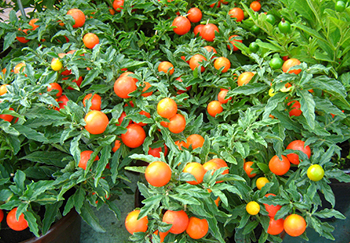
Tomatoes are simply one of the most popular, most eaten, vegetables around. While technically a fruit, because botanically, a fruit is a ripened flower ovary and contains seeds (which a tomato is and has), it’s also a vegetable, because we consume and consider it as one. For simplicity we will refer to it as a fruit in this guide since we are talking about the fruit produced by a plant. There are many different varieties of tomato from sweet cherry tomatoes, to plum, to super-sized full-flavoured beef tomatoes. Whatever variety you wish to grow this guide will give you a good steer on what to do from seed all the way to harvest.

How to Start Growing Tomatoes in Grow Bags
To grow tomatoes successfully in grow bags, it pays to be prepared and know the nuances of bag growing, so you can maximise your harvest while minimising any issues and effort.
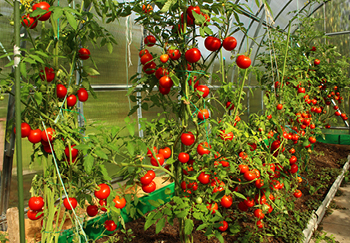
One thing to note, in doing your own research you may come across the terms ‘bush/determinate’ and ‘cordon/indeterminate’. This refers to the type of tomato plant. Bush or determinate types grow like a bush, more outwards than upwards, and are not suitable for grow bags. Cordon or indeterminate, grow upwards – over two metres – and are what many people would conder the classic type of tomato plant you see with supporting stakes. These are suitable for grow bags and are what we will be referring to throughout these steps.
If growing your tomatoes from seed, there are a few more steps to consider before potting and transferring to the grow bag which we will cover below. If buying young tomato plants, you are already at the stage to get stuck in and plant in the grow bag.
What You Will Need
When it comes to growing your own fruit or vegetables, preparation is the key to success. Before starting anything, gather some necessary items and materials:
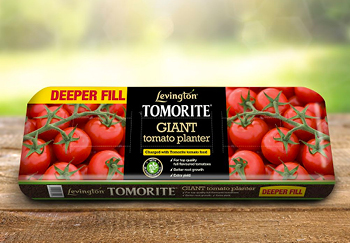
Growing Bags
You only need one to get going. One large grow bag will allow three cordon type tomato plants to grow.

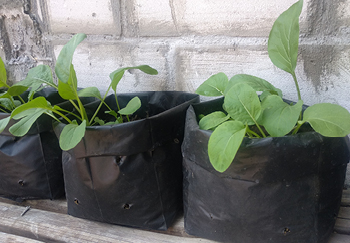
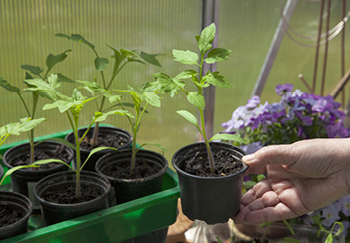
Tomato Seeds or Young Plants
It’s more fun and easier than you might think growing from seed, and you can select the exact type of tomatoes you want to grow. Alternatively, young plants are available to buy and do the job just as well, also reducing some of the time and effort needed overall.
A Sharp Knife or Scissors
For cutting the bag and to remove part of your pots.
Hand Fork and Trowel
For digging and loosening the compost in the grow bag.

Growing Pot/Halo/Ring x 3 (optional)
While not necessary, cleverly designed growing halos exist to make watering and supporting tomato plants easier. Your plant is potted within them, and the halo then placed on top of the grow bag compost. One of the benefits of using a growing ring is that when you water the plant, water is directed straight to the roots and does not run off the surface of the compost.
Stakes
Something like a bamboo cane that you support the main stem of the tomato plant with.
Grow Bag Soil and Bag Position
No matter if tomatoes are planted in the ground, in pots, or grow bags, they require a rich fertile soil or compost. Tomatoes are sub-tropical plants, so they love the sun and warmth, which means placing your grow bag where they will get as much sun as possible, in a position that also offers shelter and protection, such as against a wall or fence. The warmer the spot the faster the process will go. They’ll also need sufficient water, drawn up through the soil, but can’t be waterlogged, so create drainage holes at the bottom of the bag to help prevent this. With grow bags, because there’s less soil water retention is more limited compared to ground or pot planting, so be sure to water little and often, repeatedly on sunny days as the soil can dry out quickly in just a few hours.
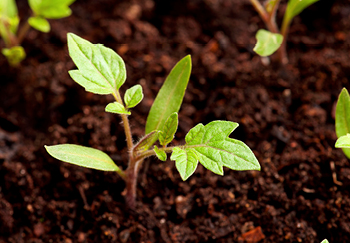
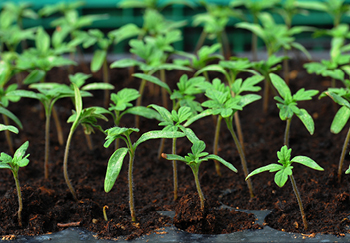
Growing from Seed
If you would like the full growing experience, then growing from seed is definitely for you. Please visit our other guide – Growing Tomatoes from Seed to Harvest, in particular the ‘Sowing’ section – which details how to grow from seed until the point of transferring each plant to their own pot. Once you have healthy young plants, follow the steps outlined below to plant in your grow bag.
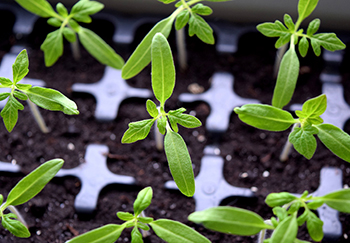
Growing from Young Plants
If purchasing your tomato plants then the sowing and growing of seedlings has been taken care of, and the plants are ready to go. How exciting! Let’s get started on what to do next.
Step 1 – See to The Grow Bag & Water the Plants
Give the plants a good watering while still in their pots so they are hydrated before going into the bag. Then, take your grow bag and give it a good shake – it’s quite a physical job, so have at it – to dislodge any compacted compost. This is also done to get air in the bag and amongst compost, which helps the roots to grow and keeps them healthy. Once done, lay the grow bag back down, and cut three sections out from the top of the bag – this is usually marked for you as a square or rectangle. Once cut, and you can see the compost, use the hand fork to break up any stubborn areas of firm compost. If you opted to use a growing pot, you’ll cut a circle the size of the base of the pot. Take a pencil or pen, or similar sharp object, and poke some holes where you can along the left and right sides of the grow bag, which will help prevent waterlogging.

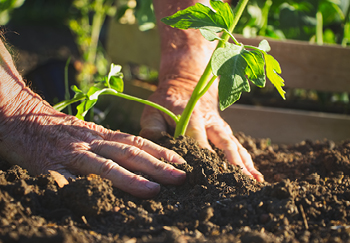
Step 2 – Planting
Now for the exciting bit, planting! There are a few different ways of planting in:
Planting Straight into The Compost
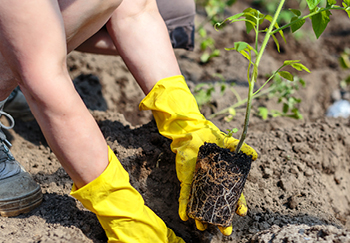
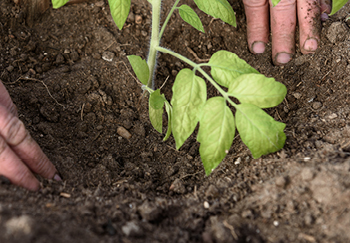
Get your hand trowel and dig a hole deep enough for your plant. Then, gently remove the plant from its original pot, remove any lower leaves you find and loosen the roots, and then place in the hole. Replace the compost you removed to create the hole, and gently pat in place to avoid firming it down.
Planting Still Inside Thin Plastic Pots
The tomato plants can be planted while still inside pots, so long as they are the cheap, thin plastic kind. This is so you can cut the bases off to allow the root network to grow down amongst the grow bag compost, while allowing a support structure and to reduce water run off making watering easier. To do this, transfer if not already in a similar pot and firm in gently. Using your trowel dig a hole for the pot and then, cut the base from the bottom so the roots are exposed, loosen the roots a little, remove any lower leaves from the main stem close to the soil, and place to a good depth, but not entirely, within the grow bag.
Planting in the Grow Pots/Halos/Rings
If using a growing pot, push this into the compost before planting. Remove some of the compost from the bag to fill in the grow pot later. Once the grow pot is in place gently remove the plant from its original pot, again remove any lower leaves you find close to the soil and loosen the roots, and then place in the hole. Replace the compost you removed to accommodate the grow pot, place back with the plant, and gently pat in place to avoid firming down. And once you’ve done that, they’ve been planted, easy right?
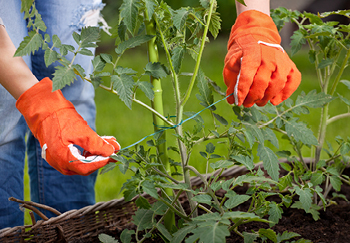
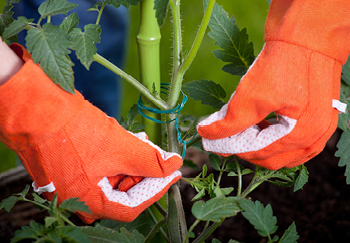
Step 3 – Staking
Tomatoes need support to grow tall and you help them to do by staking a bamboo cane, for example, into the soil behind the plants, and, as they grow taller, tie to the stake with twine. You can use one, two or three stakes per plant (three is quite common as they get taller), there is no strict rule so long as the plants are supported because they cannot grow tall on their own.
Watering & Feeding
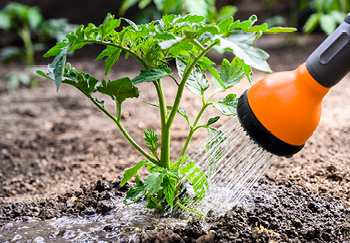
Tomatoes are thirsty and hungry plants. The key to watering in grow bags is to be consistent to avoid splitting fruit, and Blossom end rot (which comes from a lack of calcium). So, water little and often. On some very sunny and hot days you may need to water repeatedly but do not waterlog, cutting slits or making holes in the bottom of the bag will help to prevent this. Feed weekly with a high-potash fertiliser once the plants start to flower. If there’s a lack of nutrients your tomato will produce more leaves and fewer fruits.
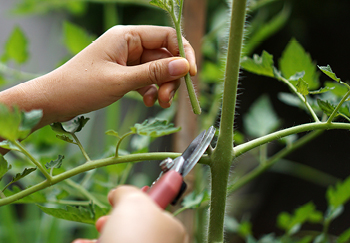
Pruning and Ongoing Care
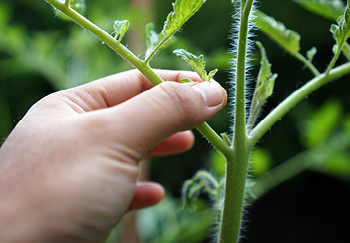
Your plants will eventually require stopping (halting upward growth) and pinching out (removing side-shoots). A combination of Stopping and Pinching out is done to control the height of the plant and get it to focus on the existing tomatoes rather than continuous growth. To stop the plant simply cut the top after four or five trusses (smaller stems where flowers and fruit develops) have formed. You can start pinching out at his point too. Look for any little tips that start to grow out from between the main stem and trusses and pinch them out. It is quite easy to do but should be done gently to avoid any damage to the plant.
Also, when the first tiny fruits begin to appear, strip away the leaves underneath to allow light and air to reach them better. They can become quite thick with leaves, so it is important to allow airflow which in turn protects against disease. Tomatoes can suffer from some problems but knowing what to look out for will put you one step ahead.
Tomato Blight
This is a disease that causes fruit and foliage rot, most caused by wet, damp weather and conditions, and poor ventilation. Ensuring the soil is well-draining and the leaves are picked will help to protect against this. It’s not as common on tomatoes grown in greenhouses.
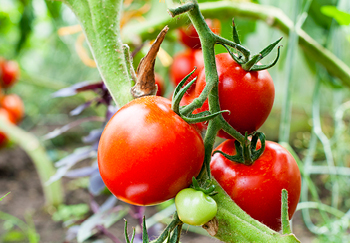
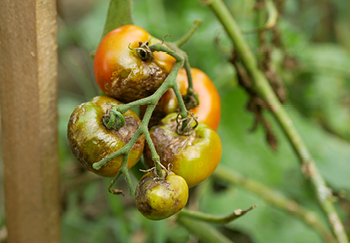
Fruit Problems
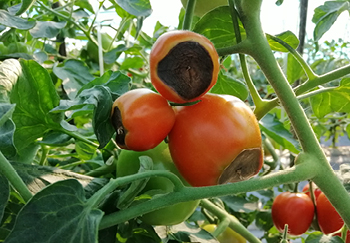
Blossom End Rot (a dark patch at the base of the fruit and ruining the taste), Splitting Fruit (it splits open) and Blossom Drop (the flower bud falls off) are all caused by irregular watering, or overwatering. Follow a regular watering routine to the base of the plants, not their leaves, and it should ensure none of these problems happen.
Pests
There are a few pests that can ruin your plants, such as greenfly, whitefly, and aphids. Thankfully, plenty of repellents exist which can be bought to protect your tomatoes. Spray as soon as you notice them.
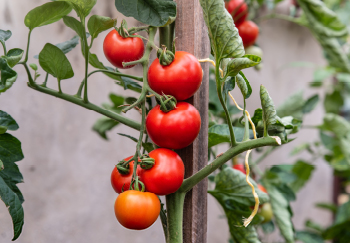
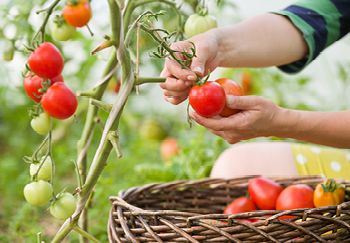
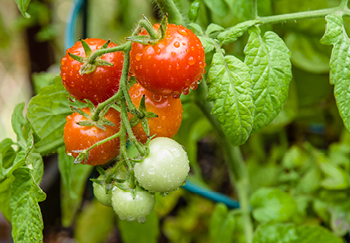
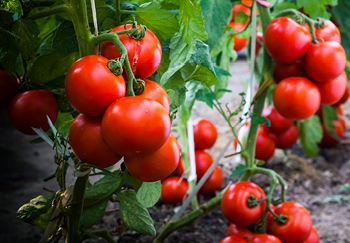
Harvesting
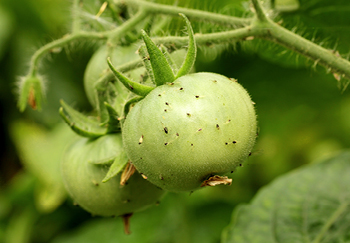
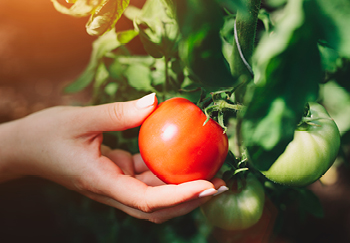
Congratulations on getting to this stage – you’ve successfully grown your own tomatoes from a grow bag! Pick the fruit when they are ripe. Different varieties will grow and ripen at different times, and tomatoes on the same plant can also naturally ripen at different times too. To know when they are ripe and harvest, be sure to know the specific signals for your tomatoes, typically a colour and firmness change. Start picking at this stage.
And You’re Done
There you have it. Soon you’ll be well on your way to growing your own plentiful harvest of deliciously fresh tomatoes at home in grow bags. You will notice the difference in flavour right away, they will be nothing like your typical store-bought tomatoes. Your plants will, unfortunately, die when the first frosts set in, which is a shame, but if you’d like to save the seeds for next season revisit our other guide – Growing Tomatoes from Seed to Harvest, in particular, the ‘Actions for Next Year’ section – for the steps to achieve this. If you didn’t this time around give it a try, you can always buy young plants later if it doesn’t work out.