How to Mulch Your Garden
September 30th, 2020 | Categories
The benefits mulching provides should make it an essential task for any garden. Mulching yields many advantages to a garden, besides making it more attractive and finished looking, it will provide nutrients for plants (if organic), aid in water retention, form a barrier against weeds and insulate the roots of vulnerable plants from winter temperatures.
It’s in no way a complex or lengthy task either. All it takes is a little planning and preparation, and the right know-how. And the know-how is exactly what we are going to cover!
Let’s Pause
If you are new to mulch and mulching and are asking yourself what in the world is mulch, then you would do much better reading our ‘What Is Mulch and Mulching?’ and our ‘Benefits to Mulching Your Garden’ guides first. We cover what mulching and mulching is in greater detail, along with some great benefits of mulching, and different mulches you can use. Then you’re ready to come back here and get going.
When to Mulch
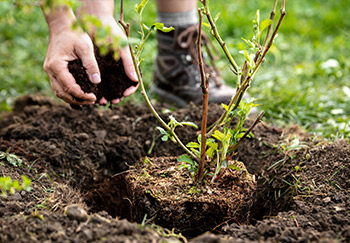
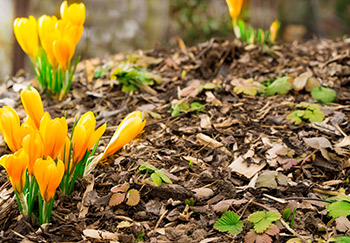
Generally, you should apply a mulch to any newly planted trees, plants and shrubs. However, if sticking to a regular annual mulching schedule then aim for mid-spring or autumn when the soil is damp and not too cold. Following a regular plan will help you to get the most benefits from mulching. Topping up and making a thicker layer of mulch on tender plants like dahlias in winter is a good idea too and will help protect the roots and crown of the plant from frost.
How to Apply Mulch
The how-to of mulching is made up of planning, implementation, and then replenishment. Plan where your mulch will go, when you will do it, and what mulch you will use – will it be an organic or inorganic mulch? Refer to our earlier guides for advice again if needed. For the purposes of this guide we are going to assume you have done all that planning and are ready to get your hands dirty with an organic mulch. Let’s go!
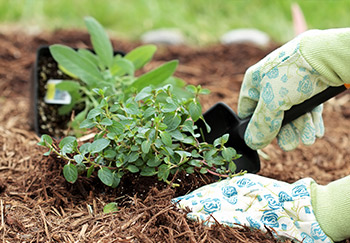
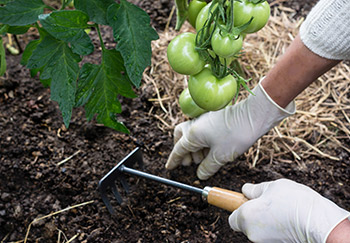
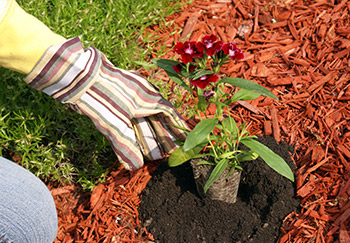
- Step 1 – Clear the site of weeds
Prepare your soil by ensuring it is fully clear of weeds. Otherwise they will spread and try (usually succeeding) to grow through your mulch. Weeds will also compete with your plants, so you will want them gone for that reason alone. Organic mulches will boost your surrounding soil and plants as they decompose so getting rid of the weeds ensures all the nutrients will go to the right places.
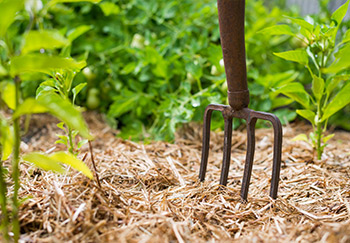
- Step 2 – Ensure soil is moist
Ensure the soil is moist but not saturated with water. Water it yourself if necessary but do it before placing any mulch as it is difficult to wet dry soil through a layer of mulch!
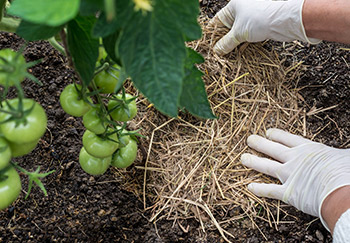
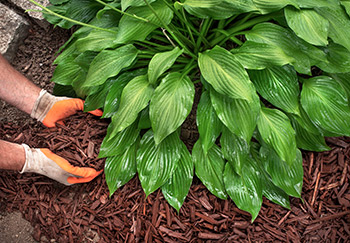
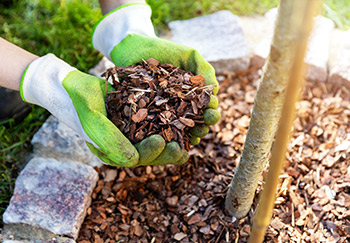
- Step 3 – Cover in your chosen mulch
Spread your chosen mulch over the soil. Ensure a depth of 2-3 inches. Easy. Don’t go deeper than this though as you can starve your plants of oxygen, create too much moisture, too much heat, all things which are not good for your plants. Take our word on it and save yourself some future disappointment and cost.
- Step 4 – Ensure a clear radius around stems of plants
Leave a little gap of mulch around the stems of your plants. They need some room to breathe. Leaving this gap helps prevent waterlogging and to avoid rot. You do not want a mulch volcano. Leave at least a six-inch gap.
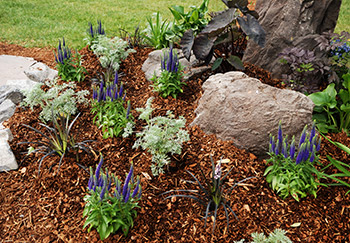
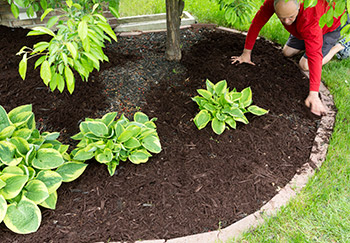
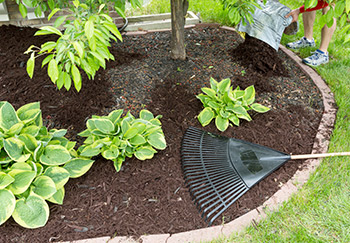
- Step 5 – Gently level surface
Rake gently to spread the mulch evenly and level off. This helps to create an even spread that enriches all areas of your covered soil at a similar rate.
If you opted for inorganic like pebbles, stones or slate an even spread just looks nice (we think so anyway).
- Step 6 – Replenish
For organic mulches, replenish or top it up when you see signs of decomposition and soil erosion/discolouration. Different organic mulch will decompose at different rates too. Applying a 2-3-inch layer should see you for up to twelve months before having to replenish a full bed of mulch.
Now You’re Ready to Mulch Your Garden
You’ve got the know-how and now you’re ready to get mulching! Mulching really won’t take up a lot of time for even the busiest of people, and the benefits it provides your garden are well worth that little bit of effort. Once you’ve got a plan in place for what your approach will be and what mulch you will use, the doing part won’t take long at all.