How to Take a Cutting from a Plant – Step by Step Guide
April 2nd, 2024 | Categories
Taking cuttings from a plant is a fantastic method to propagate new plants and expand your garden. Learning to do this allows you to produce several new plants from a single, established one.
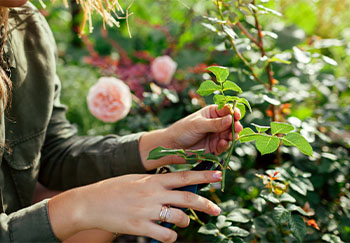
This is a good way of preserving tender plants such as Fuchsias, Pelargoniums, Geraniums, Osteospermums and Verbena, for example if you’re worried about a harsh winter. However, nearly any plant can be successfully propagated using cuttings, so you’re not limited to just tender perennial types; you can do your favourites too. All you need to know is how, and thankfully the know-how is easy!
Differences with Softwood and Hardwood Cuttings
When it comes to taking a cutting from a plant, there are two main types you can take which are softwood and hardwood.
Softwood cuttings can be taken from a huge range of hardy and tender perennial plants and deciduous shrubs, climbers, and even some types of trees. The cutting comes from the soft and flexible young shoots, hence the term “softwood”. Softwood cuttings require a bit more care and attention, but they have the greatest rooting potential.
Hardwood cuttings can also be taken from a huge variety of plants such as climbers, trees, shrubs, and fruits. The clue is in the name again: hardwood cuttings come from older, woodier, shoots and stems. They are much slower to root but are usually successful more often than not.
To know whether a cutting needs either a softwood or hardwood cutting we advise looking it up online just to be sure.
When to Take Plant Cuttings
Softwood cuttings are typically taken from the onset of spring through to early summer when new growth begins to emerge. Depending on your local area this could be from April to June. This usually offers enough time for the cutting to develop a good enough root system to survive over the winter. Roots of softwood cuttings do develop quickly.
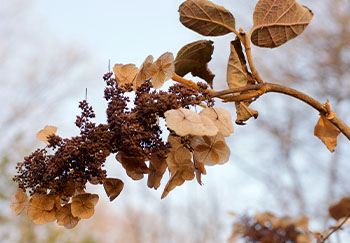
Hardwood cuttings on the other hand, are taken later in the year, typically from mid-autumn until late winter when the plant has gone dormant after shedding its foliage. Hardwood cuttings are slower to develop than softwood are but are usually successful.
Taking cuttings at the right time will increase the chances of success.
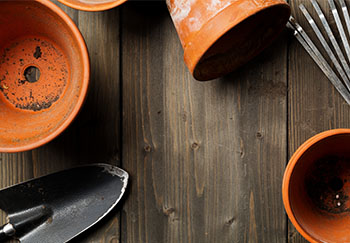
Tools for Taking Cuttings
At a bare minimum, all you need to take cuttings of softwood and hardwood, are a sharp pair of clean secateurs or clean gardening knife, a good potting soil, and some pots. However, being gardeners ourselves we know many of you want to do it often and get it done right. So we have a full list of items that can be used below which will help:
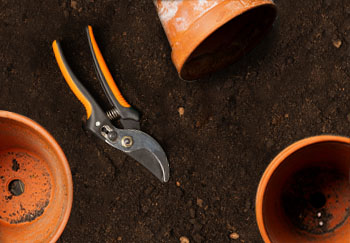
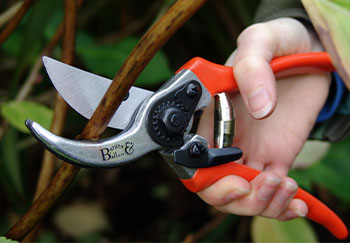
Knife / Secateurs
A sharp and clean knife or pair of secateurs are necessary to make the precise cuts needed without harming or introducing disease to the mother plant.
Small Pots
Small pots 9cm or 10cm are needed for your cuttings to root in. Alternatively, you can use a slightly larger pot and place multiple cuttings within.
Compost / Potting Soil
A good quality multi-purpose compost or potting soil will provide enough nutrients for weeks and help the cuttings to root.

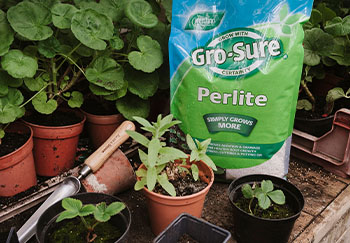
Perlite
A good quality compost will have water retentive material, however adding perlite to the mix will help even more whilst also increasing aeration. This is especially helpful if you don’t have a lot of time because it’s very easy for the compost in small pots to dry out quickly.
Hormone Rooting Powder
To increase successful rooting significantly, you can dip the cut end in some hormone rooting powder. The hormone content encourages rooting whilst there is also a fungicide element to help prevent fungal disease. It sounds like an exotic item, but these are readily available in our garden centres.
Watering Can
A small watering can fitted with a rose – especially for softwood cuttings – will help to gently water the cuttings without damaging them. Using a large can there is always the danger of volume of water displacing and damaging the cuttings.

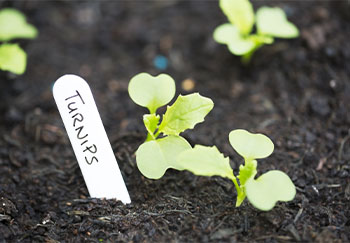
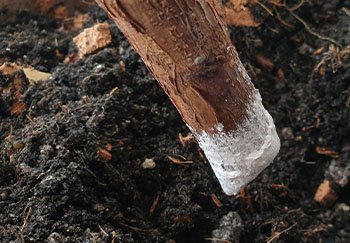
Labels
If you are doing cuttings from a few different plants, then labels are essential. You wouldn’t be the first gardener to forget what cutting is what!
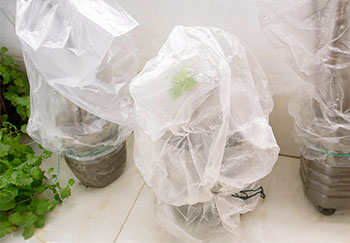
Clear Plastic Bag
Commercial growers use special misting environments to provide extra moisture to prevent wilting. You can create similar conditions with a fairly low-tech method by comparison of a clear plastic bag placed over the pots held in place by tape or plastic bands.
How to Take Plant Cuttings, Step by Step
By following these easy steps, you’ll be able to take cuttings from your plants easily. You’ll see it’s quite straightforward:
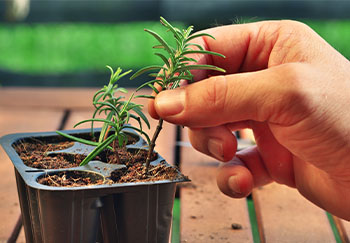
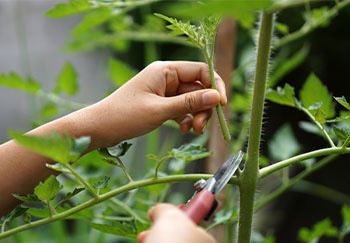
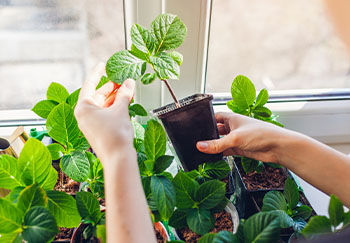
Step 1 – Taking Softwood and Hardwood Cuttings
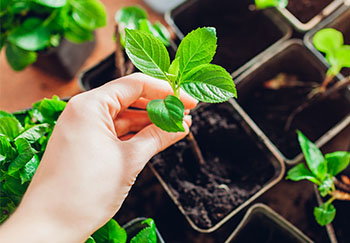
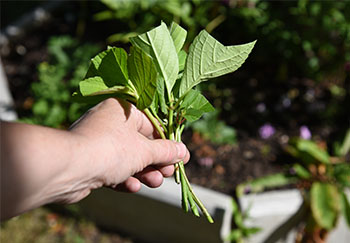
To take softwood cuttings, choose a non-flowering stem/side-shoot. Measure approximately 10cm long, then cut just below a leaf joint. Remove any bottom leaves.
To take hardwood cuttings, choose a strong woody stem/shoot, roughly the thickness of a pencil, and cut close to the base below a bud. Remove the tip of the now cut stem with an angled cut, which will help water to drain away. This helps to prevent rot. Additionally, at the bottom of the cutting you can strip away some of the top layer of bark to expose the new green layer which will help the roots to grow.
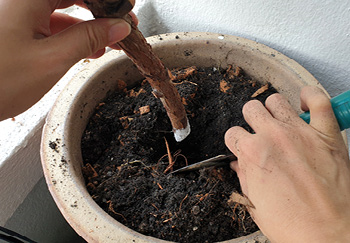
Step 2 – Dip in Hormone Rooting Powder
If you have it, dip the cutting base into the rooting powder to help promote root development before planting in your pots. Shake off any excess coating or clumps.
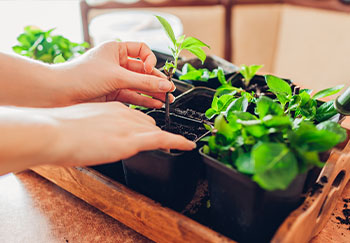
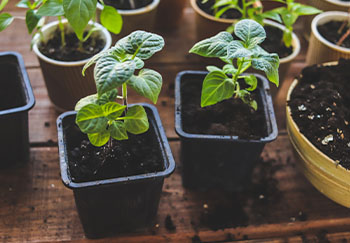
Step 3 – Planting Your Cuttings
Next, mix your chosen good quality compost with the perlite. Go for a mixture that’s mostly compost and perlite, about 70/30. Gently put the base of the cutting into the now filled pot. Depending on the size of the pots chosen, it will be a single cutting per pot or multiple, so long as they have some space of their own and the leaves don’t touch. Top tip, use a pencil to create a nice little hole in which to place the cutting.
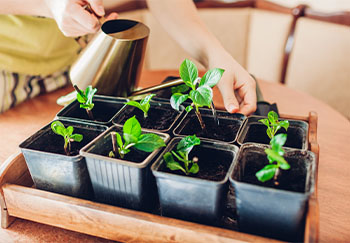
Step 4 – Water
Once all cuttings are in pots, give them a gentle watering with your watering can. Allow them to drain and the foliage to dry off.
Step 5 – Ongoing Needs & Care
For softwood cuttings, once dry, place the pot in a warm, bright position indoors, but out of direct sunlight. If you’re really keen you can try a heated propagator with lid. Keep the compost moist but not waterlogged too. If using a plastic bag, remove it once a day and shake out excess water to prevent conditions from becoming too humid and damp inside.
For hardwood cuttings, they can generally be left until the following spring without needing much attention as it is then the roots will start to grow. As the weather heats up, watering requirements to keep the compost moist will increase but be careful not to waterlog it.
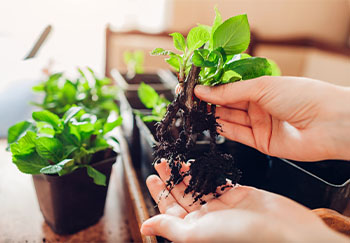
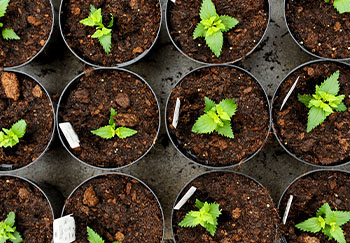
Step 6 – Potting On or Planting Out Once Rooted
Softwood cuttings should root in six to eight weeks. Once the cuttings have rooted, which will be evident when you see new growth, they can be re-potted into individual pots and over winter on a warm windowsill or conservatory, watering as needed. The plastic bags are no longer needed at this stage. Once spring arrives, you can choose to keep them in a pot, though they may need to be potted on again, or planted into the ground. Be sure to harden them off for a couple of weeks by placing them outside for a couple of hours each day so the young plant can adapt without being shocked.
As for hardwood cuttings, only pot it during the following autumn after the you see the leaves have fallen from other plants, so you know the dormant period has started. Alternatively, instead of planting into a larger pot it can be planted directly into the ground at this stage.
Things to Bear in Mind
Whether softwood or hardwood, some cuttings just wont take, it’s just one of those things no matter what you did.
Also, if you take too many cuttings from a mother plant over a short period of time then it can affect growth and the lovely display, even health, of the mother plant. After all, these plants are producing new growth for a reason.
Finally, remember that any young or established plant can suffer from a hard frost, so be sure to protect them with a fleece or equivalent to ensure your efforts are not scuppered. That would be sad!
Make Plants Go Further with Cuttings
By following these steps, you’ll be able to take cuttings from your favourite plants in the garden easily and propagate them with minimal equipment and effort. Take cuttings for your own pleasure or give them to neighbours, friends, and family for a great gift, and to help them start their own nature-friendly garden. That is, if they haven’t started already. If they have, why not ask to take some cuttings from their garden? Just be sure to ask nicely!