Sarah Squire’s Simple Step-by-step Autumn Planter
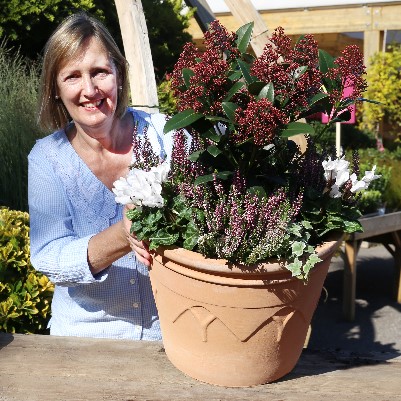
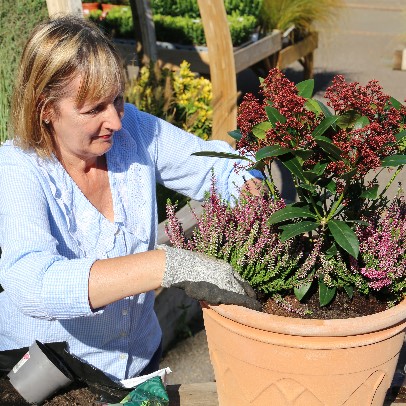
Above: Sarah Squire with autumn planted container
Autumn is firmly nature’s time to plant, with the soil still warm from summer and moist with autumn rain and so ideal for creating an stunning container that will give enjoyment now as well as injection of colour early in the spring. Here, Sarah Squire gives a step-by-step guide to creating a simple, yet rewarding, perfect planter.
Step 1
Gather together all the key components in one place for ease while you are creating your planter – a suitable container – a simple terracotta pot is always good – a good peat-free multi-purpose compost, stones or broken pots (‘crocks’) to aid drainage, a watering can, as well as your selection of plants – you could include a selection of patio plants, Skimmia or something similar as a focal point, Cyclamen and trailing ivy as well as heathers. For added colour, some carefully placed Crocus and Tete a Tete bulbs. Pieces of broken pot are always useful to keep a supply of for lining containers and they brilliantly aid essential drainage. Stones will also work well too.
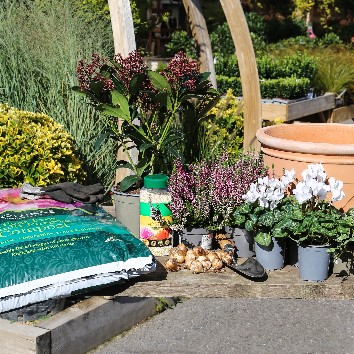
Above: gather together key items so they are all to hand
It is also good to add a fertiliser to the container at planting stage, such as Miracle-Gro Continuous Release Plant Food. Also do consider using water retaining crystals, like Aqua Gel, mixed with compost when planting so that absorbed moisture is locked away until the compost becomes dry and then the gel releases water to keep compost moist.
It’s a good idea to give your chosen plants a good water before they are planted in situ in your container.
Step 2
‘Crock the pot’ by lining a clean container with pieces of broken pots or stones – or a mix of the two.
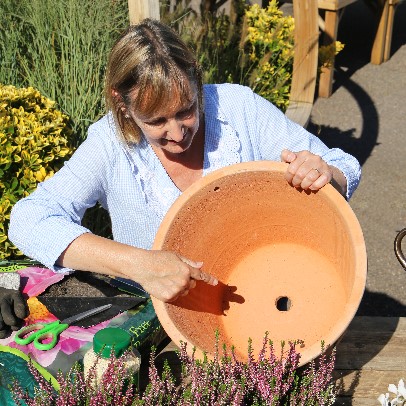
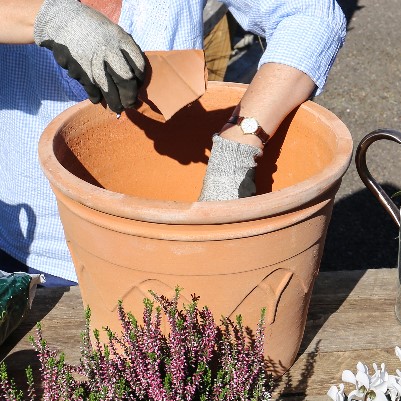
Above: add broken pot pieces (‘crocks’) or stones to the base of a clean container
Step 3
Add peat-free multi-purpose compost on top of the broken pots and stones to fill the container to about three quarters full to the top of the rim. You can add a slow-release fertiliser at this point if you like.
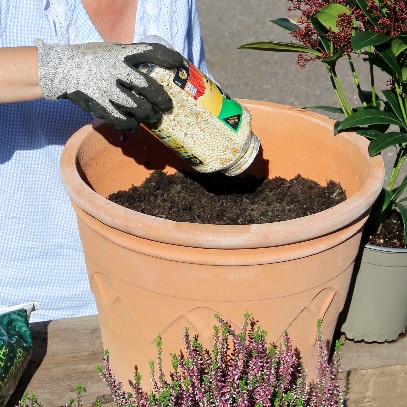
Above: add a peat-free compost and slow-release fertiliser too
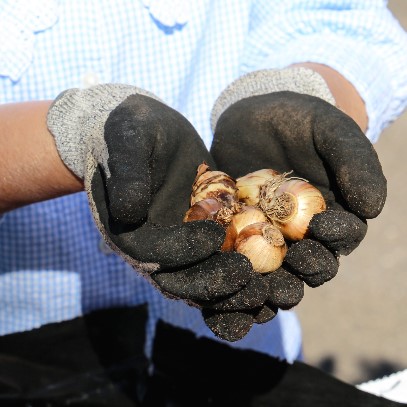
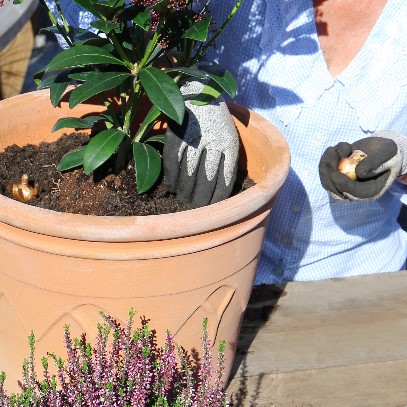
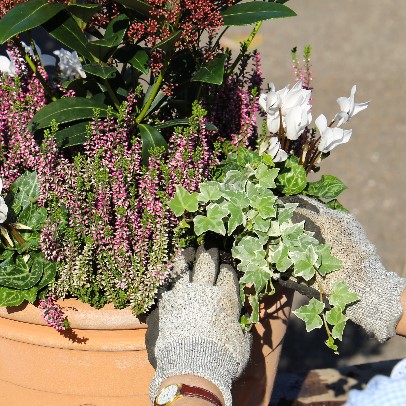
Step 4
On top of the compost carefully place your selection of spring flowering bulbs and layer up with a little more compost. Next gently remove the plants from their pots and place them in the desired spot in your container. Firm in, gently adding further compost to fill in any gaps if necessary so roots are covered and the plants can establish themselves well in the pot.
Step 5
Once everything is planted, it is important to water well.
Step 6
For a long-lasting display, tend your container by watering regularly – never let the compost become dry – and feed your plants with a liquid feed during the flowering season. Regular deadheading is a really important part of caring for plants as it encourages repeat flowering, extending your enjoyment of any display.
Sarah Squire, Chairman of Squire’s Garden Centres, comments: “Creating an autumn planter is something very simple to create and is a rewarding activity too. Once complete, it will deliver a wonderful display now – as well as some welcome spring colour in the new year.”