Growing Peas at Home from Seed to Harvest
June 11th, 2021 | Categories
Growing peas at home fresh from seed is easy and the flavour experience is so much better than store bought peas. Why grow peas at home though? Well, peas are without a shadow of doubt a staple of British cuisine. We absolutely love them. The average person in the UK allegedly consumes more than 10,000 of them each year too. What else should, nae, could our beloved fish and chips be accompanied by? From mushy, to minted, to petit pois, to big marrowfat peas, they are on dinner plates up and down the country every single day. They’re a versatile and great tasting accompaniment to our meals. Peas have truly stood the test of time, with records of human consumption dating back thousands of years. While technically a fruit, we eat them like vegetables, similar to tomatoes and peppers.
Gardeners love growing peas because they are easy to grow, some varieties need little to no support, and they don’t take up lots of space meaning other things can be grown nearby. Additionally, peas fresh from the garden are an absolute delight. Gardeners swear by the sweet taste from peas that have been picked fresh from the vine the same day. Another reason why gardeners love to grow peas is their preference for cooler conditions, meaning they do well in our climate, and there are varieties of peas that produce crops earlier in the year too meaning they can be grown and enjoyed sooner. This guide will help beginners and experienced gardeners alike to grow peas in the ground at home, no matter the variety chosen. We’ll take you through the process from seed all the way to harvest and tell you more you’ll need to ensure successful crops throughout the growing season. What are we waiting for? Let’s begin!
Why Grow Peas at Home?
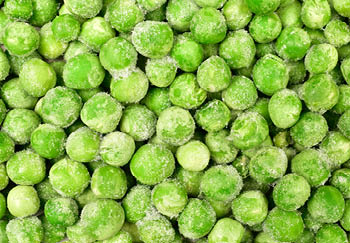
As mentioned, peas are incredibly popular, and they do well in our British climate, so that makes them a great (even forgiving) choice for beginner gardeners or those new to growing their own vegetables. Also, you haven’t truly experienced peas unless they have been grown and ate fresh. Forget about frozen or tinned peas supermarket peas, nothing compares with the super-sweet flavour of freshly harvested, tender, home-grown peas. Take our word for it. Apart from the taste and tenderness, they’re an attractive crop to grow and won’t take up too much space meaning you can plant other things too.
You will get more of the good stuff too, peas are a great source for plant-based protein, they are high in heart-friendly minerals like calcium, magnesium, potassium and are also rich in vitamin C, as well as phytonutrients including carotenoids and flavanols which are protect our hearts and support cardiovascular function. This is a superfood that should be on your plate fresh!
What Variety of Peas Should You Grow at Home?
Before you plant, you need to consider what type or types of peas you would like to grow at home. Then, get the correct or pea seeds for the variety you want. Maybe it’s all about flavour or size, or maybe you want a very low-maintenance variety that needs the least amount of effort during growing. Whatever the variety it will be pea seeds you need, as these are especially for growing lovely pea plants. You can get these from any good garden centre. However, there’s a few things worth noting first.

Earlies vs Maincrop Peas
Peas are classified as being either earlies or maincrops. Early varieties of peas are ready to harvest much sooner than maincrops, about 12 weeks generally. Maincrop varieties however are in the ground longer. Up to 16 weeks generally. In terms of harvesting, Maincrops are typically harvested in late summer or early autumn. Early varieties are typically harvested from early to midsummer and are further divided into first earlies and second earlies. First early varieties are of course first to harvest, while second earlies follow on a few weeks later, around 14 weeks in total. Whatever variety you wish to grow just be sure of their specific type, when to sow, when to harvest, and any individual needs or characteristics they may have.
Other Groups of Peas
Besides earlies and maincrop peas, you also have some other groups of peas. Round varieties of peas are smooth when dried and are hardier than wrinkled varieties. Wrinkled varieties will produce heavier crops but are not as hardy as round varieties of peas. Also, all round varieties of peas are dwarf varieties and wrinkled varieties will climb with vine-like stems, which also means they need supported in some way. Some dwarf varieties will grow large enough to need some support too, but not a requirement in every case. They are all grown pretty much the same way barring a few considerations, so just be aware of the variety of peas you are choosing and any individual characteristics or needs.

Varieties to try
You wouldn’t be alone if you thought garden peas, petit pois, and marrowfat (among others) are all just single varieties and that’s it. It is all you see in supermarkets. But this hides the number of pea varieties that are actually grown quite commonly. The Romans alone grew almost 40 varieties of peas. We’ve become a nation of efficiency rather than variety, and that’s no bad thing, but the differences in flavour and freshness make it worth trying to grow your own alone. This list below is just a small selection of the many varieties of pea you can choose:
Alderman (maincrop, climbing)
This is also known as Victorian Colossal Climbing for good reason. It will produce a mass of peas for you and they taste amazing, possibly one of the best for flavour.
Early Onward (early, climbing)
One of the most reliable varieties of peas, producing a good crop even in years with worse than usual conditions. Slightly larger than average pods with an average of 7 peas in each pod.
Hurst Green Shaft (maincrop, dwarf)
A popular maincrop variety, the Hurst Green Shaft is generally a heavy cropper producing pods with at least 10 peas each in them. They have a great sweet flavour and are also resistant to disease.
Kelvedon Wonder (early, dwarf)
This is quite a compact dwarf variety, that produces heavy crops of two-pointed pea pods each containing up to 8 peas. It is quite resistant to disease like the Hurst Green Shaft.
Terrain (maincrop)
If you want lots of peas, opt for the Terrain variety which is generally extremely high yielding. They will literally produce huge amounts of pods containing up to 8 deliciously sweet peas. They are disease resistant too.

General Growing/Harvesting Timescale for Peas
When it comes to sowing and planting pea seeds you will generally sow in February or March depending on the conditions, and then depending on the variety they will be ready for harvest sometime from June through to October. Some varieties will produce over the entire season, whereas others you will have to sow again which you can actually do up until early July usually.
How to Start Growing Peas
Now you know more about peas you’re ready to get started growing your own at home. It pays to know what to do in advance so read through our guide fully. Then when you’re ready to go and the conditions are right you can get started.
What You Will Need
The following tools will make your job much faster and easier. If you don’t have these consider investing in good ones that will last for years to come:
Spade
For digging your area, get a good one that lasts for years.
Fork
A fork differs from a spade as it will help to loosen clumps of soil and tough areas.
Hand Trowel
A hand trowel is so versatile for digging, smoothing, and applying compost or soil and other material used in your gardening. A total essential.
Pea Seeds
Your chosen seeds of course!
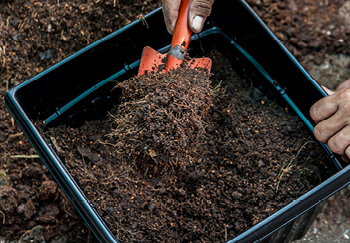
Compost
To give your soil enrichment. A good quality multi-purpose vegetable compost will do the trick.
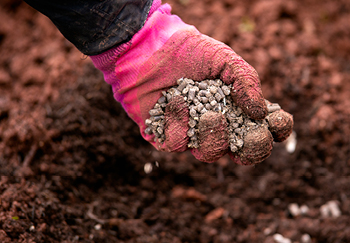
Fertiliser
To give your crop that extra feed boost. Again, any good quality vegetable fertiliser will do and down the line you can experiment with different fertilisers, like well-rotted manure or fish blood and bone.
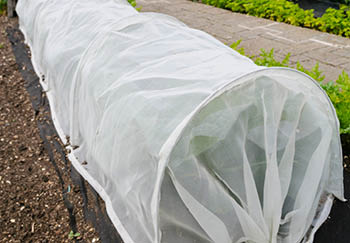
Horticultural Fleece
Not essential, but it will help. This is an exceptionally light fabric which allows light and water to pass though it but at the same time it traps in heat below and protects from high winds. Also offers protection from birds that might like some of your plants as nest material. Think about your local region’s climate, could this be beneficial?
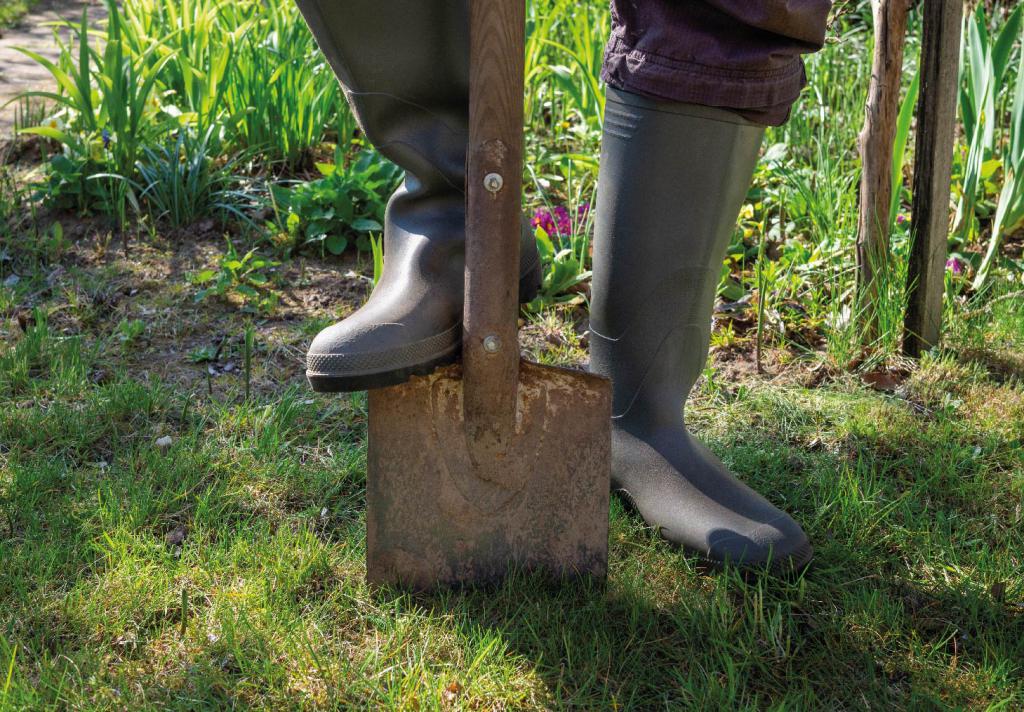

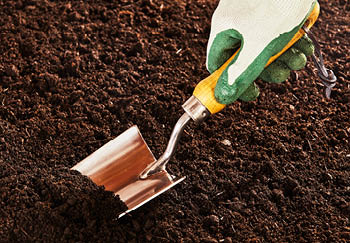

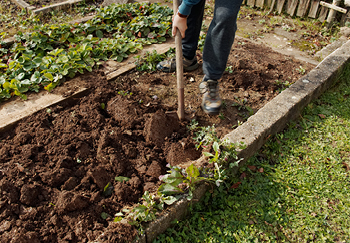
Preparing the Ground & Soil
Now that you have gathered the tools and pea seeds it is time to prepare your ground. Choose a sunny, well-drained spot as pea plants dislike cold, wet soil. In terms of the size of space needed, peas do not need a large amount of space. Naturally though the larger the growing area the more you can plant and therefore the more peas you will produce. The minimum space you will need is a rectangle trench about 30cm x 15cm, with a depth of about 5cm, and this should accommodate up to 10 to 15 pea seeds which will be planted in two parallel rows, at the longest outermost edges (top and bottom) of the prepared spot, leaving a good gap in the middle.
You’ll always want to plant more than you might need to cover any failures. So, mark out your area, and dig a shallow trench. Be sure to clear any weeds and stones you come across. Then, dig in plenty of your compost, and apply the fertiliser to improve the soil prior to sowing. Be sure to maintain the shallow trench though.
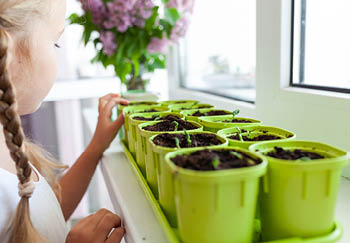
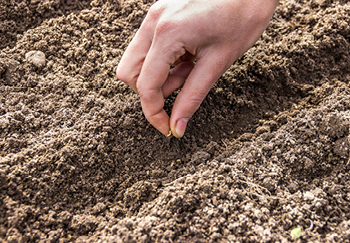
Sowing Your Pea Seeds
Once you have finished preparing your spot, plant your pea seeds at the top and bottom of your trench creating parallel rows. Space each pea seed about 4cm to 5cm apart. Cover with a layer of soil, lightly firm, then give them a water. Remember not to sow into cold or wet soil. If warmer conditions are late to arrive you can use the horticultural fleece to keep warmth in while you wait for the better weather to come. Next, once your drills have been done, sow the seeds thinly by sprinkling them into the drills with visible space between each seed, about 3cm to 5cm. Cover with a light layer of soil/compost. Once done, give them a light watering.
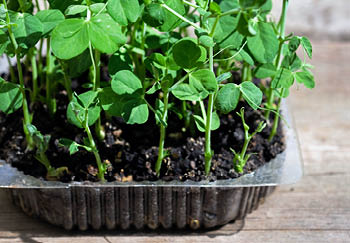
Growing
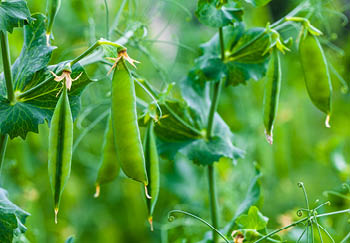
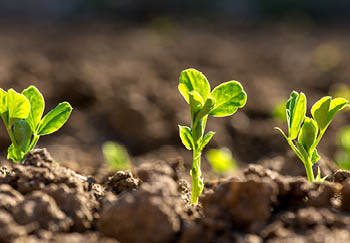
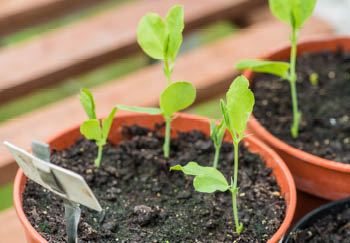
Your seedlings should appear within two weeks of planting. Water the plants after this period and when you see them start to flower. Climbing pea varieties will need supports in place while they are still young to help them scramble up and grow. This support can come in the form of a trellis, bamboo canes, wire, and netting. If you search online for ideas, you’ll find plenty of photos and guides to draw inspiration from.
The smaller dwarf varieties can be supported with pea netting or pea sticks. Not all will need support, but it will probably help their development, so they are not sagging over themselves. Every little thing you do can help them be happier and produce more lovely peas, so why not? After flowering, the plants need sufficient water for the pods to swell. Check the soil moisture regularly and water if needed without overloading them. Also, after flowering feed weekly with your fertiliser to ensure they have a plentiful supply of nutrients to produce lots of amazing peas.

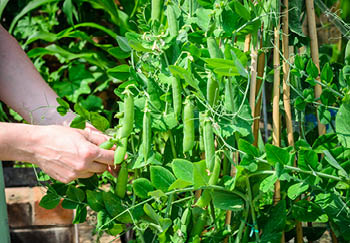
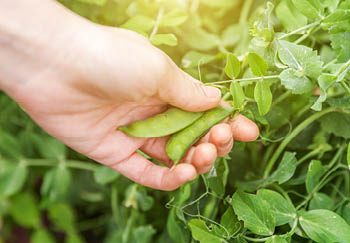
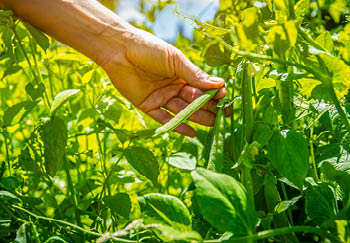
Harvesting Your Peas
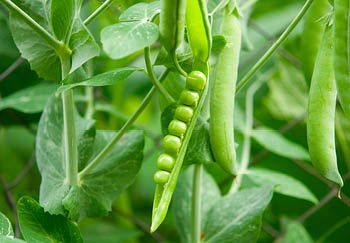
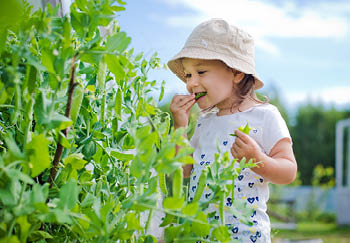
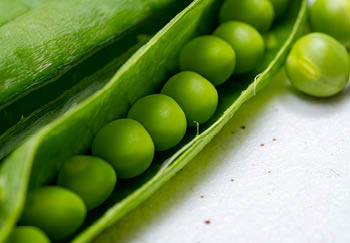
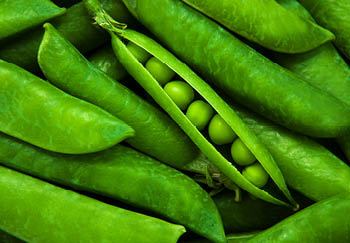
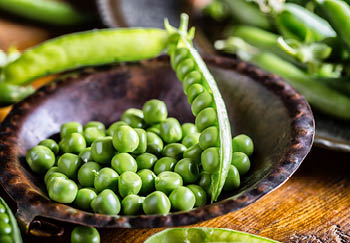
Depending on your variety of peas and the type they are, they’ll be ready to harvest when the pods are visibly swollen with peas. Keep a note in your diary of how long your chosen variety should take to be ready (remember if they are early or maincrop) and then harvest around this time. Top tip: pick the pods from the bottom of the plant upwards, as generally the lower the pod then the more mature they are. Try to be gentle and avoid damaging the plant itself as many will continue to produce continuously so long as the care and conditions are right. Pick regularly otherwise new pods won’t form. Once harvested, consume promptly for the best flavour. They can be eaten raw, and they will be utterly delicious and sweet, nothing like store bought peas. You might have to stop yourself from eating them all!
Storing Your Peas
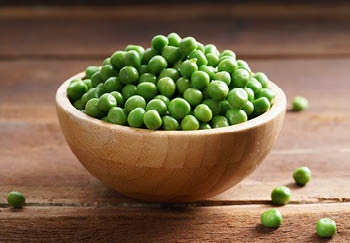
Peas really are best used or ate soon after they are picked but if you like you can store them in the fridge for about a week or freeze them.
Common Problems to Watch Out For
Like all things grown in the garden at home, there are few things to watch out for that can affect your pea crop. Have a read through this list so you are prepared and know what to watch out for so you can act quickly should the need arise:
Birds
Birds can take the leaves off the plants leaving them bare. Using netting can stop these pests from getting to them.
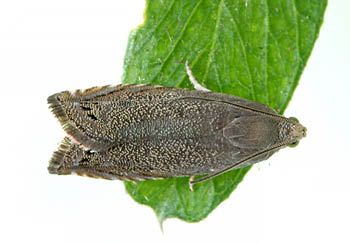
Pea Moth
Pea moths will lay their eggs on pea flowers. The larvae then live in the pods, feeding on the developing peas growing into caterpillars. Grow your crops under insect-proof mesh to prevent this from happening. Though early spring and early summer sowings are less affected by this.
Powdery Mildew
This is a fungal disease that appears as a white mildew on pea plants. If it takes hold, it can stunt growth and cause leaves to shrivel and die. Drought-stressed plants are more susceptible to this disease so ensure they are consistently watered.
Delicious Home Grown Peas
And there you have it, your own plentiful crop of peas grown at home in your garden. Your peas can be eaten raw or given how utterly versatile they are steamed, or boiled, served with mint and a knob of butter, added to a curry, or made into a delicious homemade pea soup. Add them to other recipes and dishes like pasta, or on the side of your fish and chips too. Whatever you do with them, we are confident you’ll love the flavours. Night and day compared to store bought peas. You won’t want to go back!

Useful Links
- Shop Online for Pea Seeds
- Growing Onions from Seed to Harvest (Article)
- Growing Peppers from Seed to Harvest (Article)
- Growing Potatoes from Planting to Harvest (Article)
- Growing Chillies from Seed to Harvest (Article)
- Guide to Growing Tomatoes in Pots (Article)
- Grow Your Own Herbs (Article)
- Grow Your Own Strawberries (Article)